
Living in Chicago, space can sometimes be at a premium, especially in the city's charming older homes or urban apartments. However, having a small bedroom doesn't mean you have to sacrifice style or functionality. With the right remodeling techniques, you can transform a compact bedroom into a cozy, well-organized, and stylish retreat. Here are some creative solutions to help you maximize space in your small bedroom while maintaining a sense of elegance and comfort.


Clever Storage Solutions
When remodeling a small bedroom, smart storage is essential. Using innovative storage solutions can help you keep your space clutter-free without compromising on style.
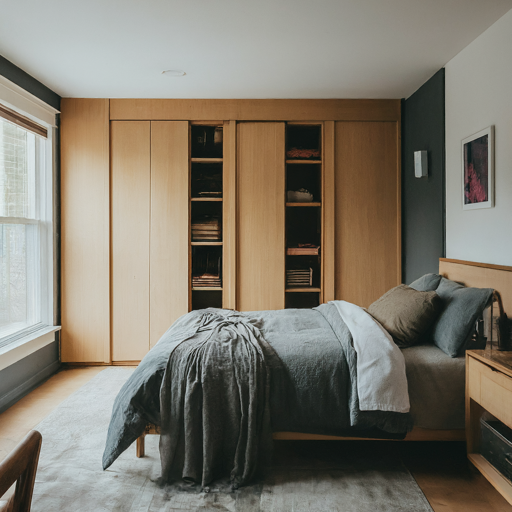
➮ Built-In Shelving
➮ Under-Bed Storage
➮ Multi-Functional Furniture

Space-Saving Furniture
Choosing the right furniture is crucial for a small bedroom remodel, particularly in the cozy spaces of Chicago's city homes. You want pieces that are not only functional but also fit the room without making it feel cramped.
➮ Wall-Mounted Desks
➮ Murphy Beds
➮ Slim or Floating Furniture
Use of Mirrors and Reflective Surfaces


Mirrors are a small bedroom’s best friend, especially in compact Chicago apartments or condos. They not only reflect light, making the room feel larger and brighter, but also create the illusion of more space.
➮ Full-Length Mirrors
➮ Mirrored Furniture
Light and Airy Color Schemes
Choosing the right color palette is one of the simplest yet most effective ways to make a small bedroom feel larger. Light colors open up a space by reflecting natural light, which is especially helpful during Chicago's long winter months when sunlight is in short supply.
➮ Neutral Tones
➮ Accent Walls
➮ Natural Light Enhancement

Maximize Vertical Space
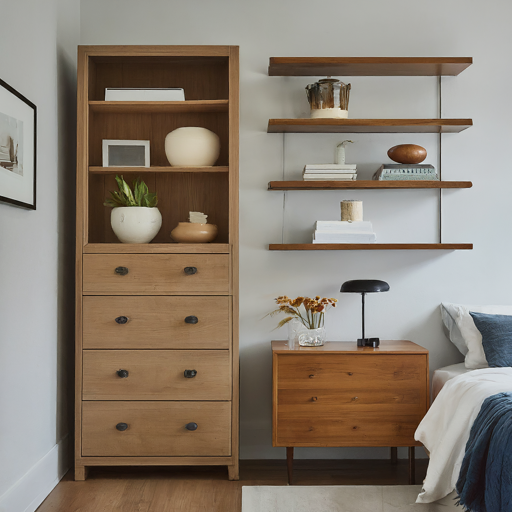
In small bedrooms, you might not have a lot of floor space, but you can often take advantage of vertical space.
➮ Tall Dressers or Wardrobes
➮ Hanging Storage
➮ Lofted Beds
No matter the size of your bedroom, a thoughtful and well-planned remodel can make a big difference. In a bustling city like Chicago, where space can be limited, maximizing every square foot of your home is crucial. By incorporating clever storage solutions, choosing space-saving furniture, and sticking to light color schemes, you can turn even the smallest bedroom into a stylish and functional retreat.